Christmas dip nails are a perfect blend of creativity and practicality. With a myriad of colors and designs to choose from, they allow for a personalized touch to match any holiday outfit or theme. The dip powder method, known for its durability and vibrant color payoff, ensures that your nails remain chip-free and vibrant throughout the holiday season. This innovative nail technique is gaining popularity due to its ease of application and the luxurious finish it provides, making it an ideal choice for both nail enthusiasts and novices alike. In this comprehensive guide, we will delve into the world of Christmas dip nails, exploring everything from the basics of dip powder application to the latest design trends. We'll provide step-by-step instructions, tips for maintaining your manicure, and creative ideas for festive nail art. Whether you're new to dip nails or a seasoned pro, this guide will equip you with the knowledge and inspiration to achieve stunning holiday nails that are sure to impress.
What Are Christmas Dip Nails?
Christmas dip nails are a festive variation of the traditional dip powder manicure, designed to capture the spirit of the holiday season. Dip nails involve a process where nails are dipped into a colored powder, which is then sealed with a clear protective coat. This technique results in a durable and vibrant nail finish that can last for weeks without chipping. With Christmas dip nails, the color palette and designs are centered around holiday themes, including classic red and green, sparkling gold and silver, and whimsical patterns like snowflakes and candy canes.
The appeal of Christmas dip nails lies in their versatility and resilience. Unlike traditional nail polish, dip powder offers a longer-lasting solution that is less prone to chipping and damage. This makes them ideal for the busy holiday season, where nails are often subjected to more wear and tear than usual. Furthermore, the variety of available colors and the ability to mix and match powders means that the design possibilities are almost endless, allowing for a unique and personalized Christmas manicure.
Read also:Who Is Tom Cruise Married To A Detailed Insight Into His Personal Life And Relationships
In addition to their aesthetic appeal, Christmas dip nails also benefit from the health advantages associated with dip powder. The application process is often considered less harmful to nails than gel or acrylic methods, as it doesn't require UV light for curing and is generally less harsh on the natural nail. This makes dip nails a popular choice for those who want to maintain nail health while still sporting a fabulous holiday look.
Why Choose Dip Nails for Christmas?
The choice of dip nails for Christmas is driven by several compelling factors that make them an excellent option for holiday manicures. Firstly, the durability of dip nails is unmatched, offering a chip-resistant finish that can withstand the rigors of holiday preparations and celebrations. This means you can enjoy beautiful nails throughout the season without frequent touch-ups.
Secondly, the vibrant colors and finishes available with dip powders are perfect for creating eye-catching Christmas designs. Whether you prefer classic holiday hues or more creative, modern palettes, dip nails provide the flexibility to achieve your desired look. The powders can be layered and combined to create unique effects, such as ombre or glitter gradients, which are perfect for festive occasions.
Another advantage of choosing dip nails for Christmas is the relatively simple application process. While it may require some practice to master, the technique is generally more straightforward and quicker than other manicure methods like acrylics. This makes it accessible for at-home application, allowing you to create salon-quality nails without leaving your home.
How to Apply Christmas Dip Nails?
Applying Christmas dip nails involves a few key steps to ensure a flawless and long-lasting finish. The process begins with proper nail preparation, which includes trimming, buffing, and cleaning the nails to create a smooth surface for the powder to adhere to. Once the nails are prepped, a base coat is applied, followed by dipping each nail into the chosen powder color.
After the initial dip, a brush is used to remove any excess powder before applying a second coat of base and repeating the dipping process. This layering technique helps to achieve the desired opacity and ensures even coverage. Once the final coat of powder is applied, an activator is used to harden the powder, followed by a top coat to seal and shine the nails.
Read also:Late Night Talk Shows A Window Into Entertainment And Culture
It's important to allow each layer to dry thoroughly before proceeding to the next step to prevent smudging or uneven application. Additionally, taking care to evenly distribute the powder during each dip will result in a more professional-looking finish. With practice, the application process becomes quicker and more efficient, allowing for stunning Christmas dip nails in no time.
Step-by-Step Guide to Dip Nail Application
Step 1: Prepare Your Nails
Before starting the dip nail application, ensure your nails are clean and dry. Remove any old polish and push back the cuticles. Trim and file your nails to the desired shape, then gently buff the surface to remove shine. This step is crucial for ensuring the dip powder adheres properly.
Step 2: Apply Base Coat
Apply a thin layer of base coat to one nail, avoiding the cuticle area. This serves as the adhesive for the dip powder. Work on one nail at a time to prevent the base coat from drying too quickly.
Step 3: Dip into Powder
While the base coat is still wet, dip your nail into the chosen dip powder color at a 45-degree angle. Tap off any excess powder and use a soft brush to remove any remaining dust from around the nail.
Step 4: Repeat the Process
For optimal coverage and color intensity, repeat the base coat and dipping process for each nail. Typically, two to three layers are sufficient for most designs.
Step 5: Apply Activator
After achieving the desired color, apply an activator to each nail to harden the powder. This step is essential for setting the dip and ensuring durability.
Step 6: Shape and Buff
Once the activator has dried, gently shape the nails with a file and buff the surface to smooth out any uneven areas. This helps to refine the overall appearance of your manicure.
Step 7: Finish with a Top Coat
Apply a top coat to seal and add shine to your nails. This final step not only enhances the appearance of your dip nails but also protects them from everyday wear and tear.
Essential Tools and Products
To achieve the perfect Christmas dip nails, having the right tools and products is essential. Here's a list of must-have items for your dip nail kit:
- Dip Powder Colors: Choose festive shades that match your holiday theme.
- Base Coat: A high-quality base coat is crucial for proper adhesion.
- Activator: This chemical hardens the powder and sets the manicure.
- Top Coat: A glossy top coat enhances shine and provides protection.
- Nail File and Buffer: Essential for shaping and smoothing nails.
- Soft Brush: Use for removing excess powder from nails.
- Cuticle Pusher: Gently push back cuticles for a neat finish.
Investing in quality products ensures a professional result and helps maintain the health of your nails. Consider purchasing a dip nail kit that includes all the necessary components for convenience and ease of use.
Popular Christmas Dip Nail Designs
Expressing your holiday spirit through nail art is a fun and creative way to celebrate the season. Christmas dip nails offer countless design possibilities, ranging from classic to contemporary. Here are some popular design ideas to inspire your next festive manicure:
Classic Red and Green
Nothing says Christmas like the traditional colors of red and green. This timeless combination can be enhanced with glitter or metallic accents for a touch of sparkle. Consider alternating colors on each nail or incorporating simple patterns like stripes or polka dots.
Winter Wonderland
Capture the magic of a snowy landscape with a winter wonderland theme. Use shades of blue, white, and silver to create a frosty look, and add delicate snowflake patterns for an enchanting effect. This design is perfect for those who love a more subdued yet elegant holiday look.
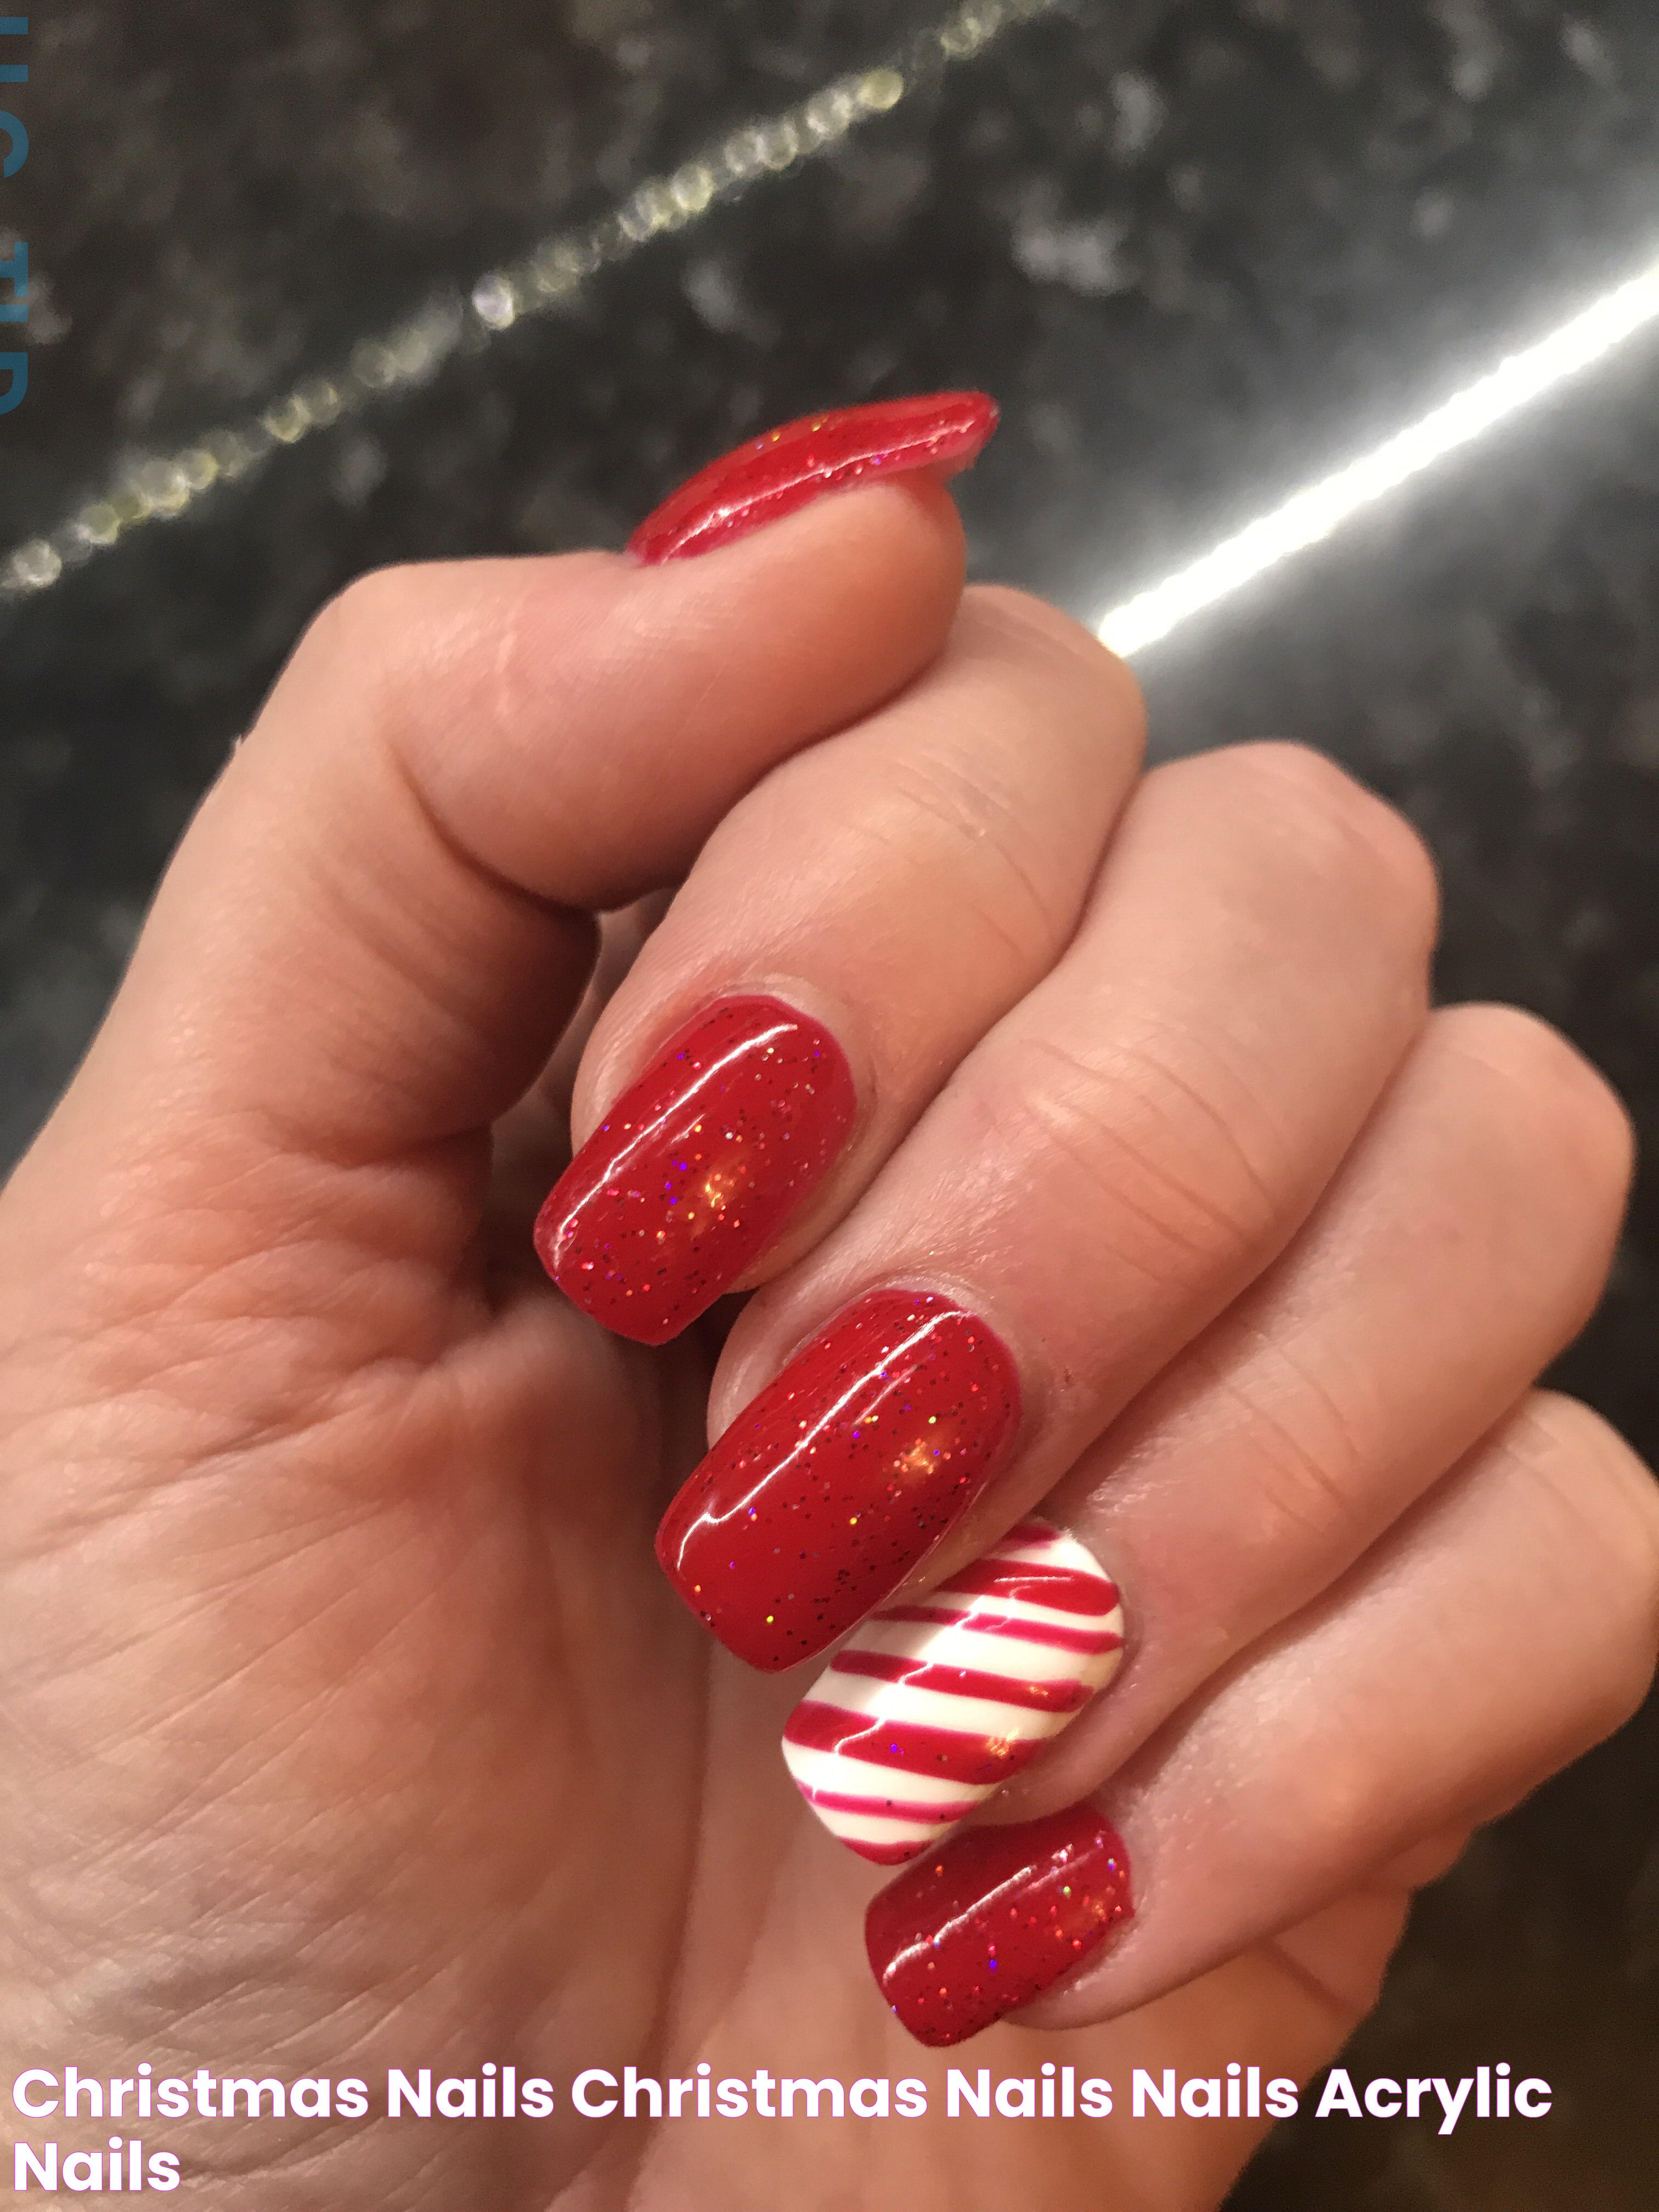
Candy Cane Stripes
Bring a playful twist to your Christmas manicure with candy cane stripes. Alternate between red and white lines for a sweet and festive appearance. This design works well as an accent nail or across all nails for a bold statement.
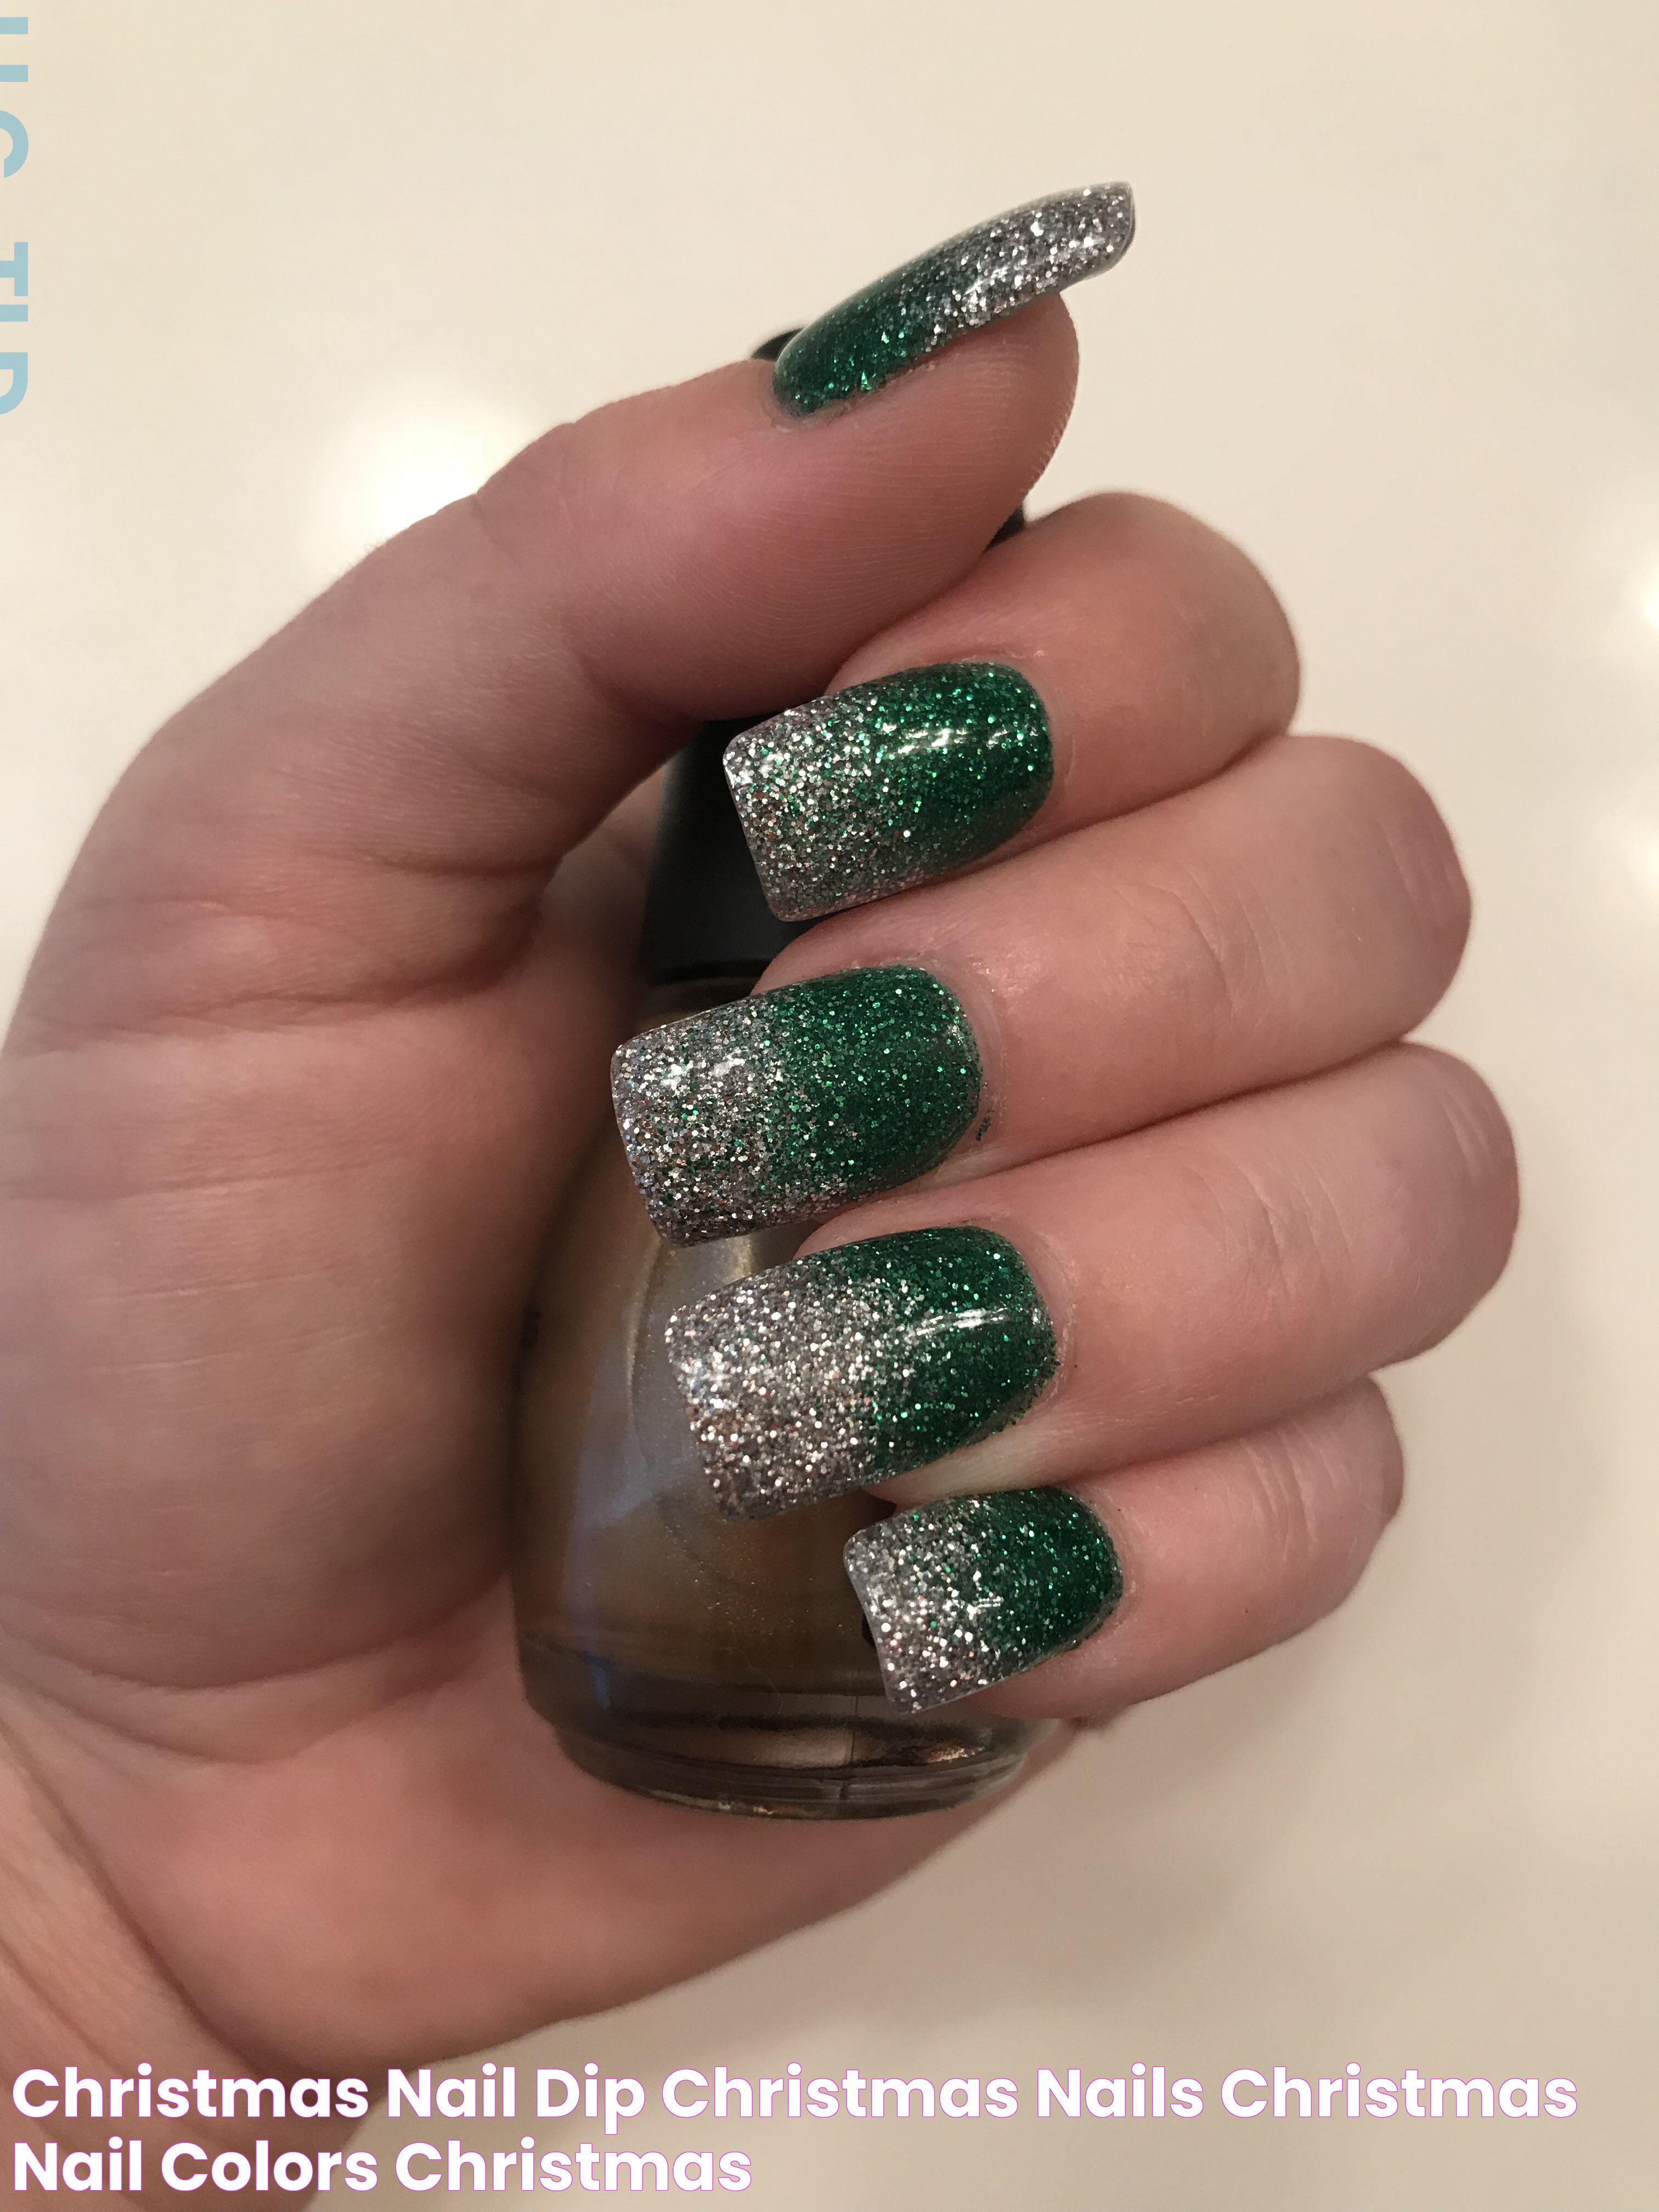
Glitter and Glam
Add some sparkle to your holiday with glitter dip powders. Incorporate gold, silver, or multicolored glitter for a glamorous finish that catches the light. Glitter can be used as an overlay on solid colors or as a gradient effect for added depth.
Festive Characters
For a fun and whimsical approach, consider painting festive characters like Santa Claus, reindeer, or Christmas trees. These designs can be achieved with nail art stickers or hand-painted details for a personalized touch.
How to Care for Dip Nails?
Proper care and maintenance of your Christmas dip nails ensure they remain beautiful and intact throughout the holiday season. Here are some tips to help you care for your manicure:
- Avoid Harsh Chemicals: Exposure to cleaning products and other harsh chemicals can weaken the dip powder. Wear gloves when performing household chores to protect your nails.
- Moisturize Regularly: Keep your nails and cuticles hydrated by applying cuticle oil and hand cream daily. This prevents dryness and helps maintain the health of your natural nails.
- Be Gentle: Avoid using your nails as tools for opening packages or performing other tasks that may cause damage. Being gentle with your hands helps prolong the life of your manicure.
- Schedule Touch-Ups: As your nails grow, schedule touch-ups to fill in any gaps or maintain the appearance of your dip nails. Regular maintenance ensures your nails look their best.
By following these care tips, you can enjoy stunning Christmas dip nails that last well beyond the holiday season.
Tips for Long-Lasting Dip Nails
To maximize the longevity of your Christmas dip nails, consider these additional tips:
- Proper Application: Ensure each layer is applied evenly and dried thoroughly before proceeding to the next step. This prevents lifting and chipping.
- Seal the Edges: When applying the top coat, be sure to seal the edges of your nails to create a protective barrier against everyday wear.
- Avoid Excessive Water Exposure: Prolonged exposure to water can weaken the bond between the dip powder and your nails. Limit time spent in water and dry your hands thoroughly after washing.
- Regular Maintenance: Keep up with regular nail maintenance, such as filing and buffing, to prevent breakage and maintain a smooth surface.
By implementing these tips, you can enjoy vibrant and chip-free Christmas dip nails that stand the test of time.
DIY vs. Salon Dip Nails
When it comes to Christmas dip nails, you have the option of doing them yourself at home or visiting a professional nail salon. Each approach has its own advantages and considerations.
DIY Dip Nails
Doing your own dip nails at home can be a cost-effective and convenient option. With the right tools and a little practice, you can achieve salon-quality results. DIY allows for creative freedom and the ability to experiment with different designs at your own pace.
However, it's important to note that mastering the technique may require some time and patience. Additionally, investing in quality products is essential for achieving a professional finish and ensuring the health of your nails.
Salon Dip Nails
Visiting a professional nail salon offers the benefit of expertise and precision. Trained technicians can provide a flawless application and intricate designs that may be challenging to achieve at home. Salon visits also save time and effort, allowing you to relax and enjoy the pampering experience.
On the downside, salon services can be more expensive, and availability may be limited during the busy holiday season. It's important to choose a reputable salon that prioritizes hygiene and uses high-quality products.
Ultimately, the choice between DIY and salon dip nails depends on your preferences, budget, and level of comfort with the application process.
Pros and Cons of Dip Nails
Understanding the benefits and drawbacks of dip nails can help you make an informed decision about whether they are the right choice for your Christmas manicure.
Pros
- Durability: Dip nails are known for their long-lasting, chip-resistant finish.
- Vibrant Colors: The powders offer rich pigmentation and a wide range of color options.
- Less Damage: The application process is generally less harsh on nails compared to other methods.
- Easy Removal: Dip nails can be removed without damaging the natural nail when done correctly.
Cons
- Learning Curve: DIY application may require practice to achieve a professional result.
- Initial Cost: Investing in a dip nail kit and quality products can be expensive upfront.
- Maintenance: Regular touch-ups are needed to maintain the appearance of dip nails.
Considering these pros and cons can help you determine if dip nails are the right fit for your holiday needs.
Troubleshooting Common Dip Nail Issues
While dip nails generally offer a reliable and durable manicure, you may encounter some common issues. Here's how to troubleshoot and resolve them:
Issue: Lifting
Solution: Ensure proper nail preparation by thoroughly cleaning and buffing the nails before application. Avoid applying the base coat too close to the cuticles to prevent lifting.
Issue: Chipping
Solution: Apply thin, even layers of base coat and dip powder to prevent chipping. Seal the edges of your nails with the top coat for added protection.
Issue: Uneven Surface
Solution: Use a nail file and buffer to smooth out any uneven areas before applying the top coat. Practice even dipping techniques to achieve a consistent finish.
Issue: Discoloration
Solution: Use a clear base coat to prevent staining and choose high-quality dip powders that are less prone to discoloration.
By addressing these common issues, you can enjoy flawless Christmas dip nails that look amazing and last longer.
Frequently Asked Questions
1. How long do Christmas dip nails last?
Christmas dip nails typically last around two to four weeks, depending on your nail growth and how well you care for them. Regular touch-ups can extend their lifespan.
2. Can I remove dip nails at home?
Yes, you can remove dip nails at home using acetone and a gentle filing technique. It's important to follow the proper removal process to avoid damaging your natural nails.
3. Are dip nails safe for my natural nails?
When applied and removed correctly, dip nails are generally safe for natural nails. They are considered less damaging than acrylics or gels, as they don't require UV light for curing.
4. Can I change the design of my dip nails during the holiday season?
Certainly! You can file down the existing design and apply a new layer of dip powder to change the look of your nails without starting from scratch.
5. How do I fix a broken dip nail?
If a dip nail breaks, gently file the affected area and apply a new layer of base coat and dip powder to repair it. For severe breaks, consider visiting a salon for professional assistance.
6. Can I apply dip nails over artificial tips?
Yes, dip nails can be applied over artificial tips to add length and strength. Ensure proper blending between the tip and natural nail for a seamless finish.
Conclusion
Christmas dip nails are a fabulous way to celebrate the holiday season with style and flair. Their durability, vibrant colors, and endless design possibilities make them a top choice for festive manicures. Whether you opt for a classic red and green palette or explore creative winter-themed designs, dip nails offer a versatile and long-lasting solution that will keep your nails looking stunning throughout the holidays. By following the tips and guidelines provided in this article, you can master the art of dip nails and enjoy a flawless manicure that complements your holiday spirit.
For more information on nail care and holiday beauty tips, visit Allure. Stay festive and fabulous with your Christmas dip nails!