Removing SNS nails at home can be a bit daunting if you're unsure where to start. These nails, known for their durability and vibrant finish, require special care during removal to prevent damage to your natural nails. Fortunately, with the right tools and techniques, you can safely remove SNS nails without a trip to the salon.
In this comprehensive guide, we'll walk you through the step-by-step process of how to remove SNS nails safely at home. You'll learn about the materials you'll need, the preparation steps, and the best practices to ensure your nails remain healthy. Whether you're new to SNS nails or a seasoned user looking for DIY removal tips, this article is here to help.
We aim to provide you with not just instructions, but also insights into maintaining your nail health post-removal. By the end of this guide, you'll be equipped with the knowledge to confidently remove your SNS nails while keeping your natural nails strong and beautiful. Let's dive in!
Read also:The Life And Legacy Of Bryan Chatfield Sanders A Political Strategists Journey
Table of Contents
- What Are SNS Nails?
- Preparation for Removal
- Tools Needed for SNS Nail Removal
- Step-by-Step Guide: How to Remove SNS Nails
- How to Care for Your Nails Post Removal
- Common Mistakes to Avoid
- How to Prevent Damage to Your Natural Nails?
- Advantages and Disadvantages of SNS Nails
- What Are Some Alternatives to SNS Nails?
- Tips for Maintaining Healthy Nails
- Frequently Asked Questions
- Conclusion
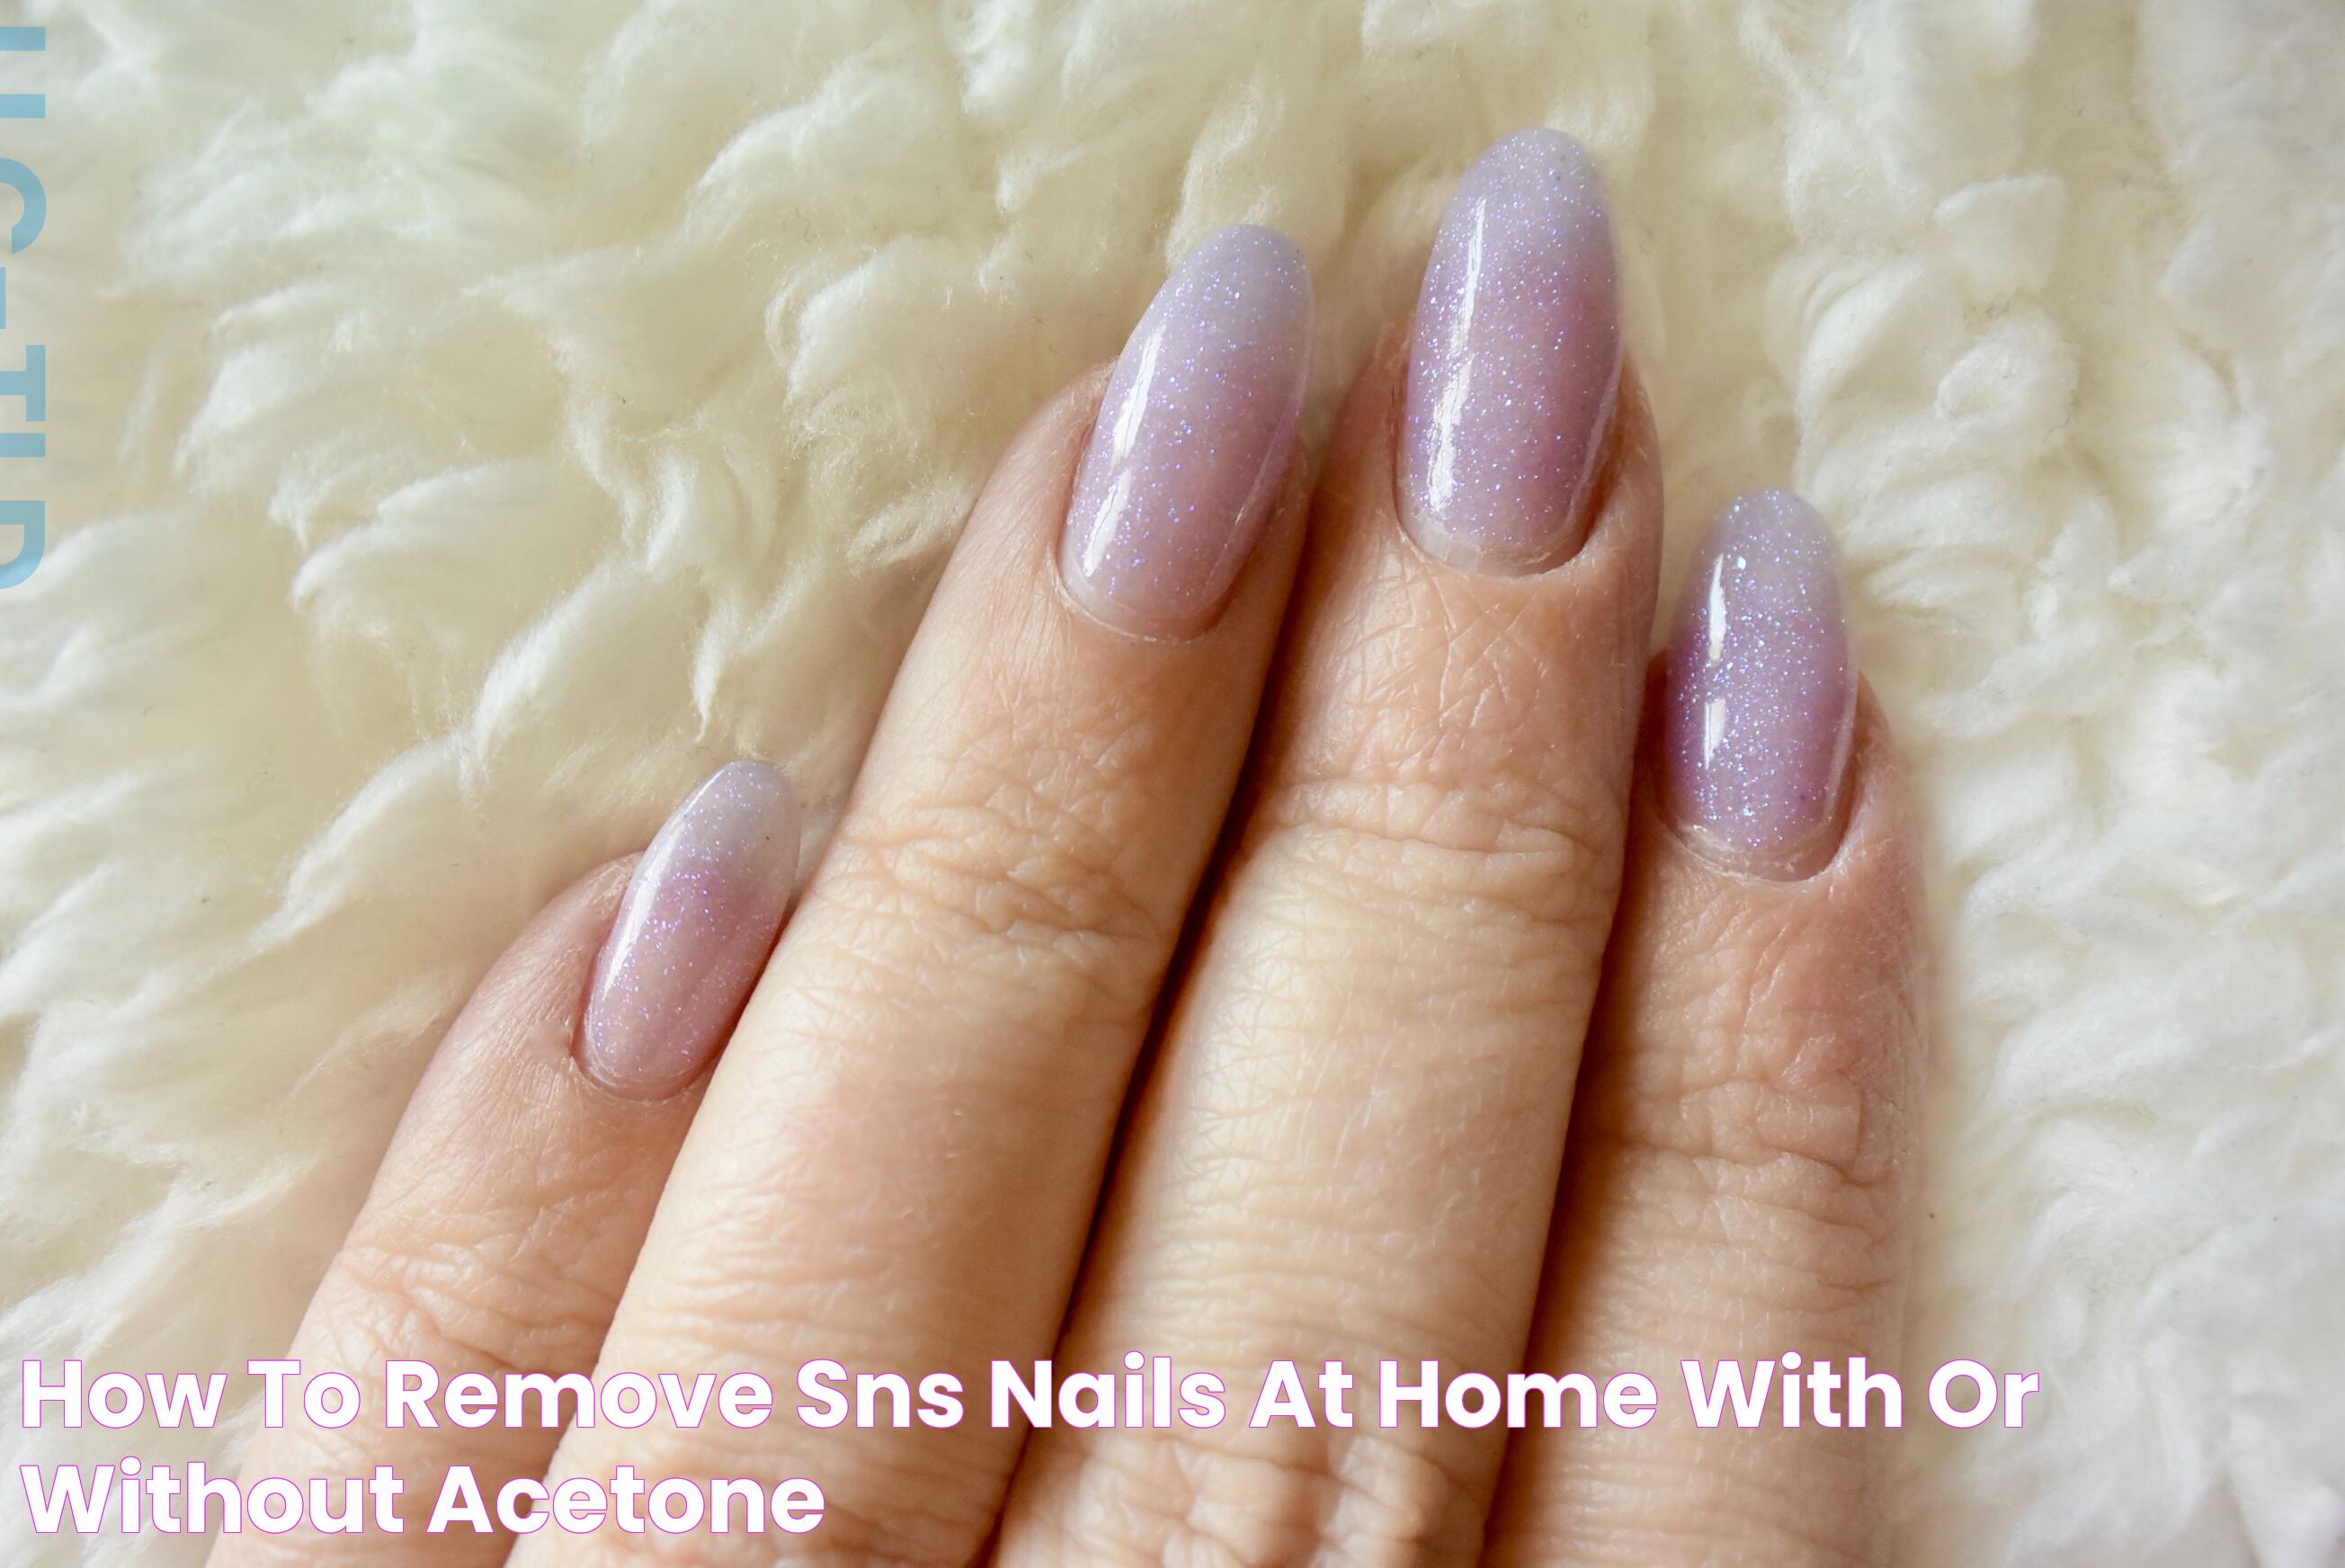
What Are SNS Nails?
SNS nails, also known as Signature Nail Systems, are a type of nail enhancement that involves a powder dipping system. Unlike traditional acrylic or gel nails, SNS nails do not require UV light to cure, making them a healthier option for your nails. The process involves applying a base coat and then dipping your nails into a colored powder, which is then sealed with a topcoat.
SNS nails are popular for their durability and natural appearance. They tend to be lighter on the nails compared to other types, reducing the risk of damage. However, like any nail enhancement, they require proper care and removal to maintain nail health.
Preparation for Removal
Before you begin the process to remove SNS nails, it's essential to gather all necessary materials and prepare your nails and surroundings. Proper preparation can make the removal process smoother and reduce the chances of nail damage.
Why is preparation important?
Preparing your nails and tools ensures a seamless removal process. It minimizes the risk of accidents and prepares your nails for any aftercare they might need.
Steps to prepare for SNS nail removal
- Gather all the necessary tools: acetone, cotton balls, aluminum foil, a nail file, and a buffer.
- Ensure your workspace is clean and well-ventilated.
- Trim your nails to a manageable length to avoid snagging or breaking.
- Wash your hands thoroughly to remove any oils or dirt.
Tools Needed for SNS Nail Removal
Having the right tools on hand is crucial for safely removing SNS nails at home. Below is a list of the essential tools you'll need:
- Acetone: Pure acetone is necessary to break down the SNS product.
- Cotton Balls: These will be soaked in acetone and placed on the nails.
- Aluminum Foil: Used to wrap around the nails and hold the acetone-soaked cotton in place.
- Nail File: To gently file down the top coat of the SNS nails.
- Buffer: Helps smooth the nail surface after removal.
- Cuticle Oil: To nourish and hydrate your nails post-removal.
Step-by-Step Guide: How to Remove SNS Nails
Removing SNS nails involves several steps, and following them carefully will ensure a safe and effective removal process. Here's how you can do it:
Read also:The Life And Career Of Phill Lewis A Talented Actor And Director
1. File Down the Topcoat
Using a coarse nail file, gently file the topcoat of your SNS nails. This helps the acetone penetrate the SNS powder more effectively.
2. Soak Cotton Balls in Acetone
Soak enough cotton balls in acetone to cover each nail. Ensure they are fully saturated for the best results.
3. Wrap Nails in Aluminum Foil
Place the acetone-soaked cotton balls on each nail and wrap them securely with aluminum foil. This will keep the acetone in contact with the SNS material, allowing it to break down.
4. Let It Sit
Allow your nails to soak for about 15-20 minutes. This gives the acetone enough time to dissolve the SNS powder.
5. Remove Foil and Cotton
After soaking, gently remove the foil and cotton. The SNS powder should appear soft and flaky, ready to be gently pushed off.
6. Buff and Moisturize
Use a nail buffer to smooth out any remaining residue on your nails. Finish by applying cuticle oil to nourish and hydrate your nails.
How to Care for Your Nails Post Removal
Post-removal care is essential to restore the health and strength of your natural nails. Here are some tips to follow:
- Apply a nourishing cuticle oil daily to keep your nails hydrated.
- Use a strengthening nail polish or treatment to reinforce your nails.
- Avoid applying new nail enhancements immediately, giving your nails time to recover.
- Keep your nails trimmed and clean to prevent breakage.
Common Mistakes to Avoid
When removing SNS nails, it's essential to avoid common mistakes that can lead to nail damage. Here are some pitfalls to steer clear of:
- Using non-acetone remover: Stick to pure acetone for effective removal.
- Rushing the process: Allow adequate time for the acetone to break down the SNS material.
- Peeling off the SNS: Avoid forcefully peeling the nails, as this can damage the natural nail.
- Skipping aftercare: Proper aftercare is crucial for maintaining nail health.
How to Prevent Damage to Your Natural Nails?
Preventing damage to your natural nails during the removal of SNS nails is crucial for maintaining healthy nails. Here are some strategies:
- Gentle Removal: Follow the removal steps carefully to minimize stress on your nails.
- Moisturize: Regularly apply oils and creams to keep your nails hydrated.
- Use Strengtheners: Apply nail strengtheners to fortify your nails and prevent breakage.
Advantages and Disadvantages of SNS Nails
Like any beauty treatment, SNS nails have their pros and cons. Understanding these can help you decide if they are the right choice for you.
Advantages
- Durable and long-lasting, often lasting up to three weeks.
- No need for UV light, reducing exposure to harmful rays.
- Lightweight and natural-looking compared to acrylics.
Disadvantages
- Can be challenging to remove without proper techniques.
- Possible allergic reactions to certain powders or chemicals.
- Requires professional application for best results.
What Are Some Alternatives to SNS Nails?
If you’re considering alternatives to SNS nails, there are several options available that offer different benefits:
- Gel Nails: Known for their glossy finish and flexibility, cured under UV light.
- Acrylic Nails: Durable and customizable, but heavier on the nails.
- Natural Nails: Embrace your natural nails with treatments and regular manicures for maintenance.
Tips for Maintaining Healthy Nails
Maintaining healthy nails requires regular care and attention. Here are some tips to keep your nails in top condition:
- Maintain a balanced diet rich in vitamins and minerals.
- Keep your nails clean and dry to prevent infections.
- Avoid using your nails as tools for opening or prying objects.
- Wear gloves when handling harsh chemicals or cleaning products.
Frequently Asked Questions
1. How long should I let my nails rest after removing SNS?
It's recommended to let your nails rest for at least one to two weeks before applying another set of enhancements.
2. Can I use regular nail polish remover to remove SNS nails?
No, it's essential to use pure acetone, as regular nail polish remover is not strong enough to dissolve the SNS layers.
3. Why do my nails feel weak after removing SNS?
Your nails might feel weak due to the removal process and the layers of product applied. Proper aftercare and rest can help restore their strength.
4. Can I remove SNS nails without acetone?
While possible, it is not recommended as it could lead to significant damage to your natural nails. Acetone-free methods are less effective and take longer.
5. How often can I apply SNS nails?
To avoid damage, it's best to apply SNS nails no more than once every three weeks and allow for rest periods between applications.
6. Is it safe to remove SNS nails at home?
Yes, it is safe if done correctly with the right tools and techniques. Ensure you follow the steps carefully to avoid damaging your nails.
Conclusion
Removing SNS nails at home can be a straightforward process if you follow the right steps and use the appropriate tools. Proper preparation, gentle removal, and attentive aftercare are key to maintaining the health and beauty of your natural nails. Whether you're taking a break from SNS nails or planning to try an alternative, keeping your nails healthy should always be a priority.
By understanding the ins and outs of SNS nail removal, you're well-equipped to maintain your nail health while enjoying the benefits of this popular nail enhancement. Remember, patience and care go a long way in ensuring your nails remain strong and beautiful. Happy nail care!
For more information on nail care and beauty tips, visit Nail Care HQ.